
Connecting To Gusto
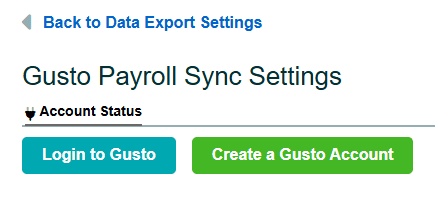
To connect Timesheets.com to your Gusto account:
- Navigate to the company settings by clicking the icon of two gears in the top right corner.
- Select the Data Export tab and look for the section titled ‘Gusto Payroll’.
- Select the link for ‘Payroll Sync’.
- On the Gusto page, select the ‘Login to Gusto’ button and complete Gusto’s authentication process to connect your company.
Configuring Settings and Users
Mapping Users
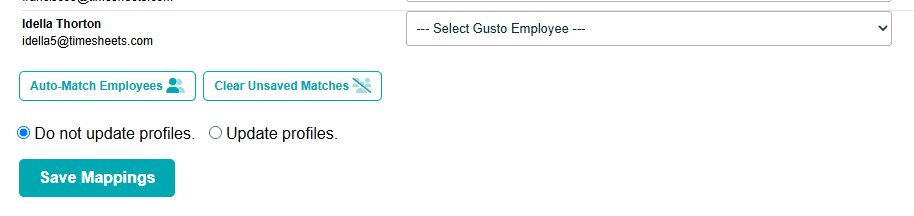
Mapping users is automatically detected and prefilled if employee names match between both systems, but the mappings must still be saved.
- From the Gusto Payroll Sync Settings page, select the ‘Match Employees’ section.
- Review the list of Timesheets.com users and select the corresponding Gusto users for syncing payroll. You can also click the ‘Auto-Match Employees’ button to automatically match employees based on first & last names across Gusto and Timesheets.com.
- Save the mappings.
Assigning Job Codes
Once your employees have been matched, you’ll need to assign the job code that they’ll be using in Gusto.
- From the Gusto Payroll Sync Settings page, select the ‘Job Codes’ section.
- Review the list of Timesheets.com users and select the corresponding Gusto Job for syncing payroll.
- Save the Job Assignments

Setting Payroll Dates
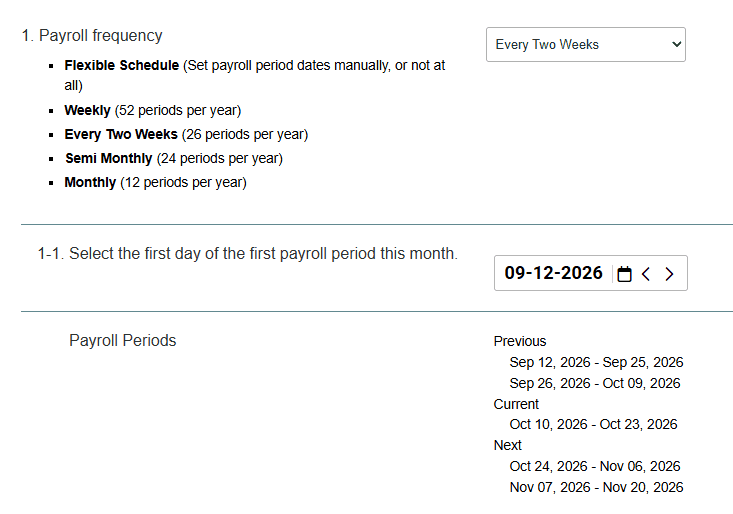
Timesheets.com and Gusto payroll dates must match for payroll to sync properly. Timesheets.com payroll dates can be preset in Company Settings.
- Navigate to the company settings by clicking the icon of two gears in the top right
- Select the HOULY tab.
- Review and adjust settings 1 and 1-1 to match the payroll periods you have setup in Gusto. Click ‘View Upcoming Gusto Payroll Periods’ to view your scheduled payroll periods in Gusto if you’re unsure of your payroll schedule.
- Click save to complete the process.
Running Payroll and Syncing with Gusto
Closing the Payroll Period in Timesheets.com
Before sending data to Gusto, the payroll period must be closed in Timesheets.com.
- Review any alerts that must be approved/denied before closing the payroll period.
- Review employee timesheets to confirm they are ready for payroll close
- Click ‘Process Records’ in the left menu, then select Close Payroll Period.
- Set the dates and other parameters and then save and close the period.
Syncing Payroll Data to Gusto
Now that your payroll period has been closed, we can sync the payroll report to Gusto.
- Select Reports in the left menu
- Select Report 2, Closed Payroll Period Reports
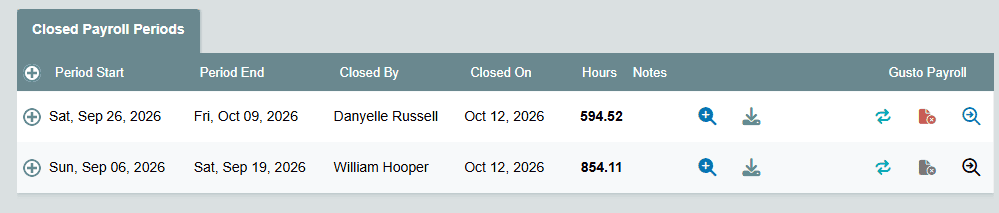
- If Gusto is properly connected with mapped employees, additional menu icons will be available on this page under a ‘Gusto Payroll’ column header.
- Select the blue sync icon to send data to Gusto
- You will receive a notification once the sync is complete and your time has been imported to Gusto.
Completing the Payroll Process in Gusto
Timesheets.com uses Gusto’s update Time API to transfer data. That data must be sent to the payroll process.
- Login to your Gusto account and select ‘Time tracking‘ under the ‘Time & attendance‘ item in the left menu.
- If necessary, select the Pay Period dates to see the imported time under each employee.
- Continue the process by selecting the button along the bottom of the screen ‘Sync hours and go to payroll’
Note that time off synced from Timesheets.com is sent directly to the payroll report, while standard time and overtime sent to the new Time API and then uploaded into the payroll report.