
Creating and editing calendars is only available using the desktop version.
Viewing Calendars on the Schedule
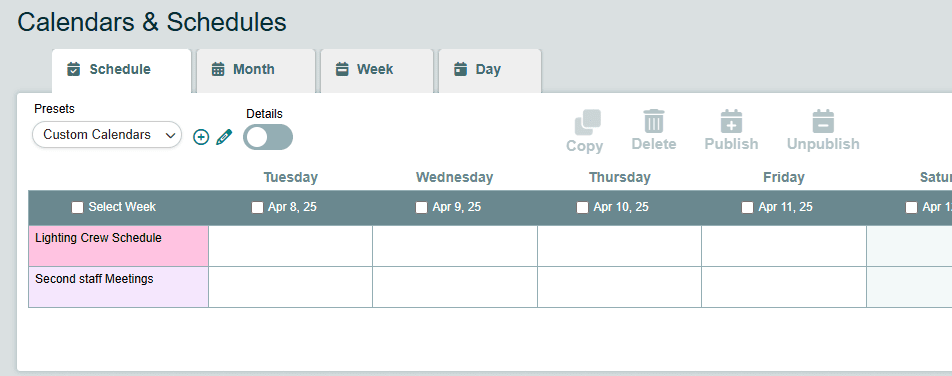
- Click Scheduling in the left menu, then Schedules.
- Select Custom Calendars from the Preset dropdown box to view you calendars.
Creating and Editing Custom Calendars
Click Scheduling in the left menu, then Custom Calendars to view a list of your calendars.
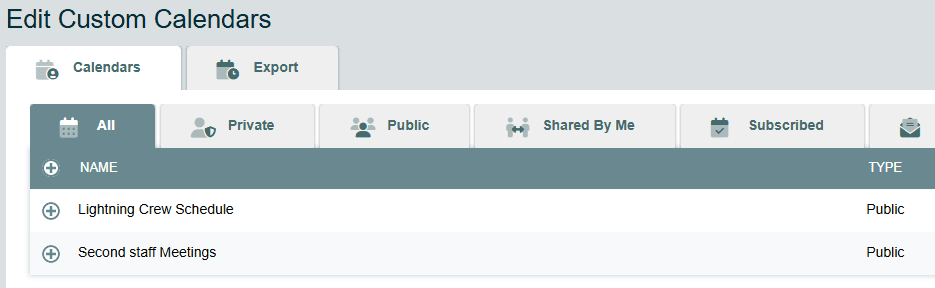
There are several types of calendars to help you stay organized.
- All – shows all available, active calendars
- Private – shows a list of your private calendars
- Public – shows a list of calendars that can be viewed by other people
- Shared By Me – shows a list of calendars I’ve shared to other people
- Subscribed – shows a list of other people’s calendars shared with me
- Invited – shows a list of calendars you’ve been invited to view
- Archived – shows a list of your archived calendars
Create a Calendar

- Click the Plus icon to the right of the Presets dropdown box as seen above.
- Enter a Calendar Name and Optional Description.
- Choose an optional Color for the calendar.
- Choose the Calendar Type:
- Private calendars are only viewable/editable by the creator.
- Public calendars are viewable—but not editable—by all users in the account.
- Shared calendars‘ view and edit access can be customized using the Make this calendar visible only to me (uncheck to make selections) and Make events on this calendar editable only by me (uncheck to make selections) options. Note: Users will need to accept invitations to shared calendars via the Invited tab on the Add/Edit Calendars page.
- Click the Save button to create the calendar.
Edit a Calendar
- Click the Pencil icon to the right of the Presets dropdown box
- From the Calendars tab, All subtab, click the Pencil icon at the right of the calendar you wish to edit.
- Complete your changes and click Save.
Archive or Delete Calendars
- Navigate to the Private, Public, or Shared By Me tab to find the calendar in question.
- Check the boxes at the left next to the calendars you with to delete or archive, and click the Archive Selected or Delete Selected button.
To share calendars:
When a calendar is created, it can be marked as private, public, or shared as seen in the image above. When a calendar is shared, it must also then be shared with specific individuals in the calendar settings. Sharing a calendar creates an invite that will display on the calendar settings Invites tab for each user. Each user must access the add/edit calendars page, visit the Invite tab and accept the calendar invite before they are able to access the shared calendar.
Calendars can also be imported, exported, or edited from the Add/Edit Calendars page using the import, export, and edit icons on the far right of the calendars list.